When it comes to cakes in this house, nothing is as popular as gooey, fudgy, chocolate contained in a bite (or two) sized piece of heaven. These chocolate brownies are a firm favourite with the boys and have even been known to make an appearance at my employer's annual coffee morning in aid of MacMillan. They are the perfect treat with a creamy cappuccino.
Ingredients:
185g unsalted butter
185g 70% dark chocolate (I used Green and Black's Cook's Chocolate)
85g plain (all purpose) flour
40g cocoa powder (I used Waitrose - I'm not sure if this is dutch processed but I suspect so)
50g plain chocolate (I used Cadbury's Bourneville)
50g milk chocolate (I used Cadbury's Dairy Milk)
3 large eggs
275g golden caster sugar


Ingredients:
185g unsalted butter
185g 70% dark chocolate (I used Green and Black's Cook's Chocolate)
85g plain (all purpose) flour
40g cocoa powder (I used Waitrose - I'm not sure if this is dutch processed but I suspect so)
50g plain chocolate (I used Cadbury's Bourneville)
50g milk chocolate (I used Cadbury's Dairy Milk)
3 large eggs
275g golden caster sugar


First, preheat the oven to 160 fan / 180 conventional / gas 4.
Prepare a 20cm square cake tin - I use a Silverwood loose bottomed tin, and I find I only need to line the base (which I do using Lakeland reusable baking liner). I don't find I need to grease this, so as I keep the liner in the tin, it's always ready to use.
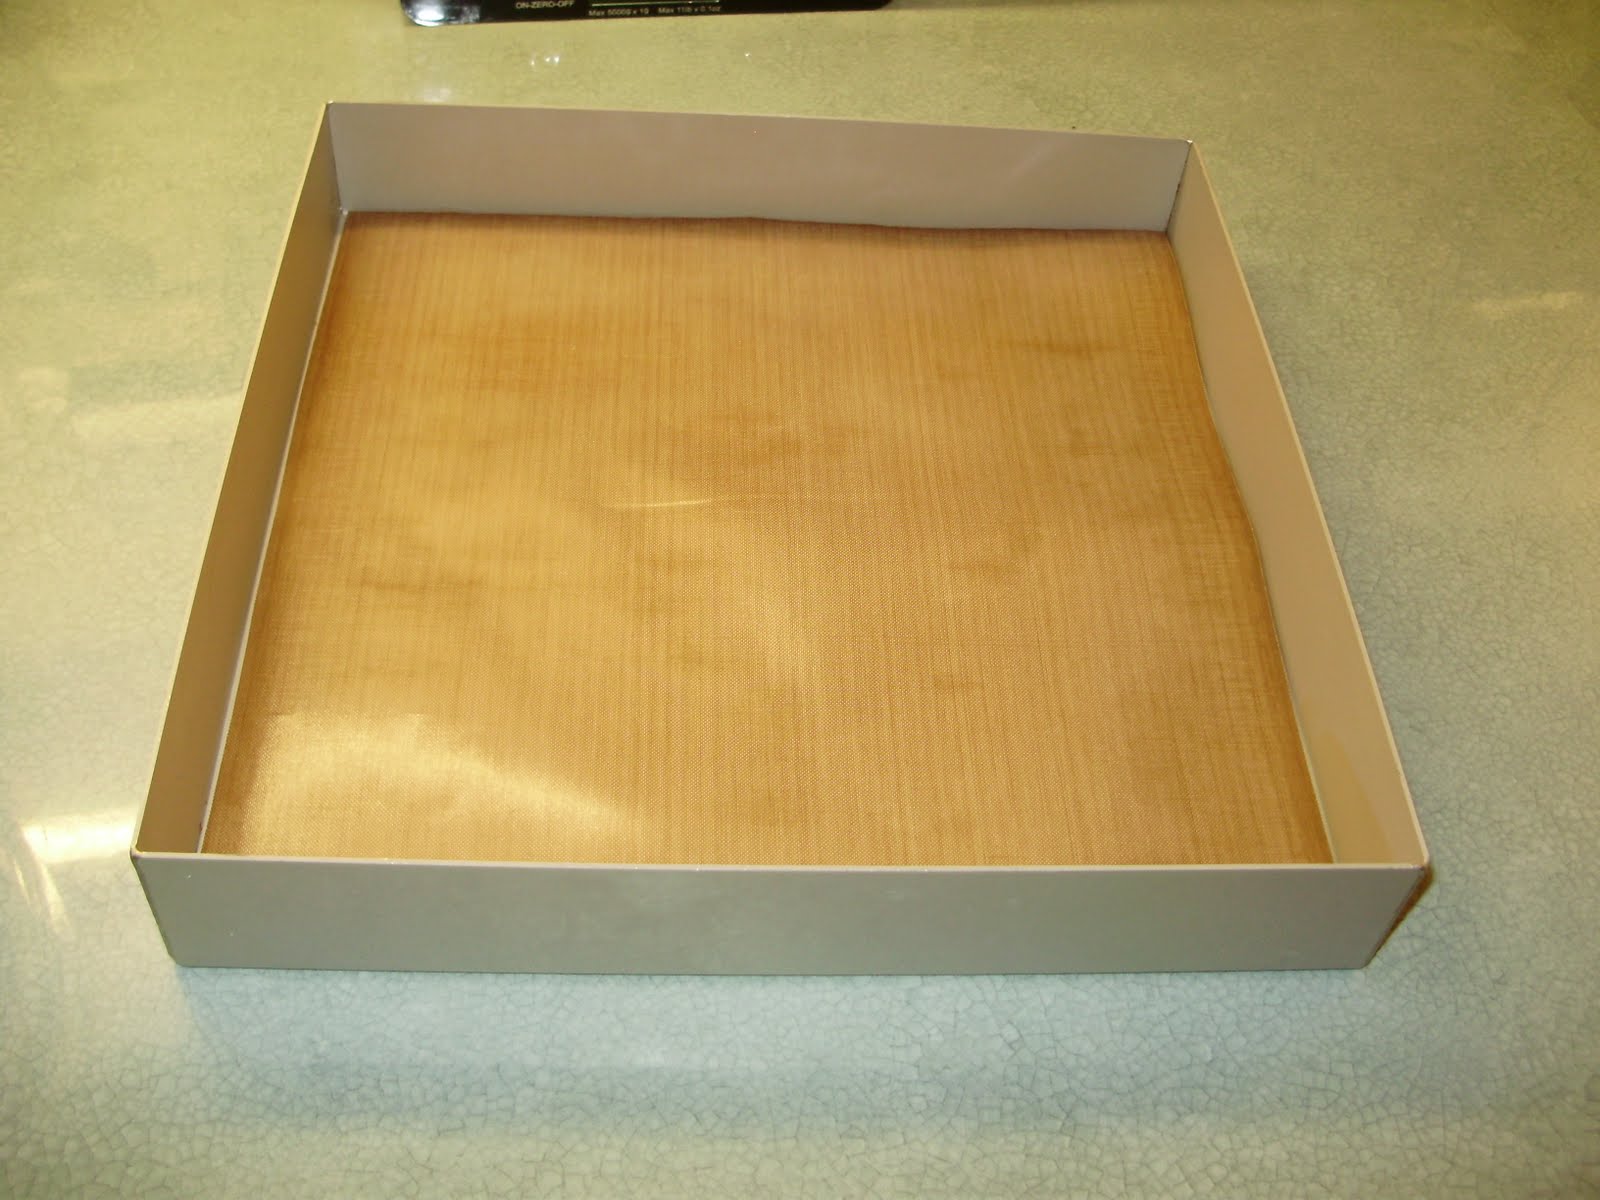
Then chop the plain and milk chocolate into bite sized chunks and set aside.

Chop the butter and 70% chocloate into chunks and place in a small bowl. Gently melt over simmering water until combined and silky. Take off the heat and allow to cool.


Meanwhile, place the sugar and eggs in a large bowl and whisk using a hand held mixer until pale and creamy - the mixture should leave a trail on the surface for a couple of seconds when you lift the beaters out.

 |
| The egg and sugar mixture should leave a trail for a couple of seconds |
Add the cooled chocolate mixture to the sugar and eggs, and gently fold in.

Sift the flour and cocoa into the mixture, and again, gently fold in
.


Pour the mixture into the tin
Bake in the centre of the oven for approximately 25 minutes. They may need a few more minutes than this if the centre is still wobbly. You're looking for the top to be shiny and papery, and the sides slightly coming away from the tin.

Remove from the oven and allow to cool.
Cut into 16 squares. I've read tips that suggest that before cutting brownies, you should place them in the freezer for 10 minutes. I've never tried this, and on this occasion, they cut beautifully without doing so. That said, other times they can be slightly gooeyer than others, so just see how they are.


You should now have a deliciously moist, intense chocolatey brownie that's not too sweet.
You can ring the changes if that's more to your taste by using different types of chocolate for the chunks - I've made them using Green and Black's Maya Gold, which made brownies to die for - but you could try any of the flavours out there.
They are based on a recipe from BBC Good Food magazine some years ago.
I hope you like them.
Susie.
Hey,I made your lovely brownies. They were delicious thanks for the recipe.You can check them out if u like they were my latest post.
ReplyDeletehttp://mycupcakehabit.blogspot.co.uk/